Table Of Contents
Step-by-Step Process of Removing Old Drywall
Removing old drywall is a straightforward process that can help you prepare for drywall replacement. Begin by turning off power to any electrical outlets and light switches in the area. Use a utility knife to cut around the edges of the drywall, ensuring you don’t damage any underlying wiring or plumbing. If the drywall is held in place by screws, use a drill or screwdriver to remove them. For nails, a pry bar can assist in pulling them out without causing further damage to the surrounding structure.
Once the edges are cut and fasteners removed, gently pull the drywall away from the studs. In cases where the drywall is stuck due to joint compound or paint, using a putty knife can help loosen it. Dispose of the old drywall properly, as it can be heavy and awkward to handle. After removal, check the studs for any water damage or mold before proceeding with drywall replacement to ensure a solid foundation for your new installation.
Tips for Safe Removal
When tackling drywall replacement, safety should always be the first priority. Begin by wearing protective gear such as goggles, gloves, and a dust mask. Ensure the work area is well-ventilated to reduce exposure to dust and debris. It’s also wise to turn off electricity in the room if working near electrical outlets. Familiarize yourself with the layout of any plumbing or electrical lines behind the walls, which could pose hazards during removal.
Avoid using tools that may be too heavy or difficult to maneuver. A utility knife and pry bar are essential for a clean and controlled removal. Cut the drywall into smaller sections for easier handling and disposal. Be cautious of falling debris, especially when removing larger pieces. If you encounter any unexpected problems such as rot or mold, address these issues promptly to ensure a smooth installation of the new drywall.
Installing New Drywall
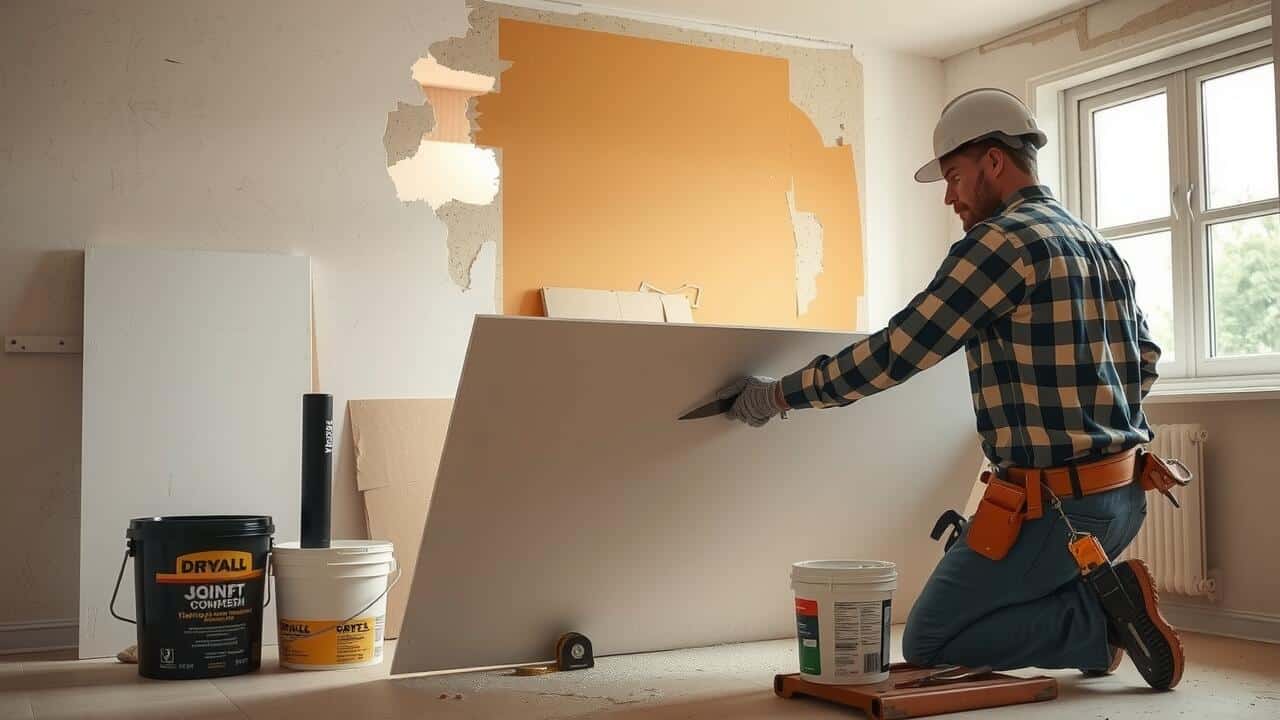
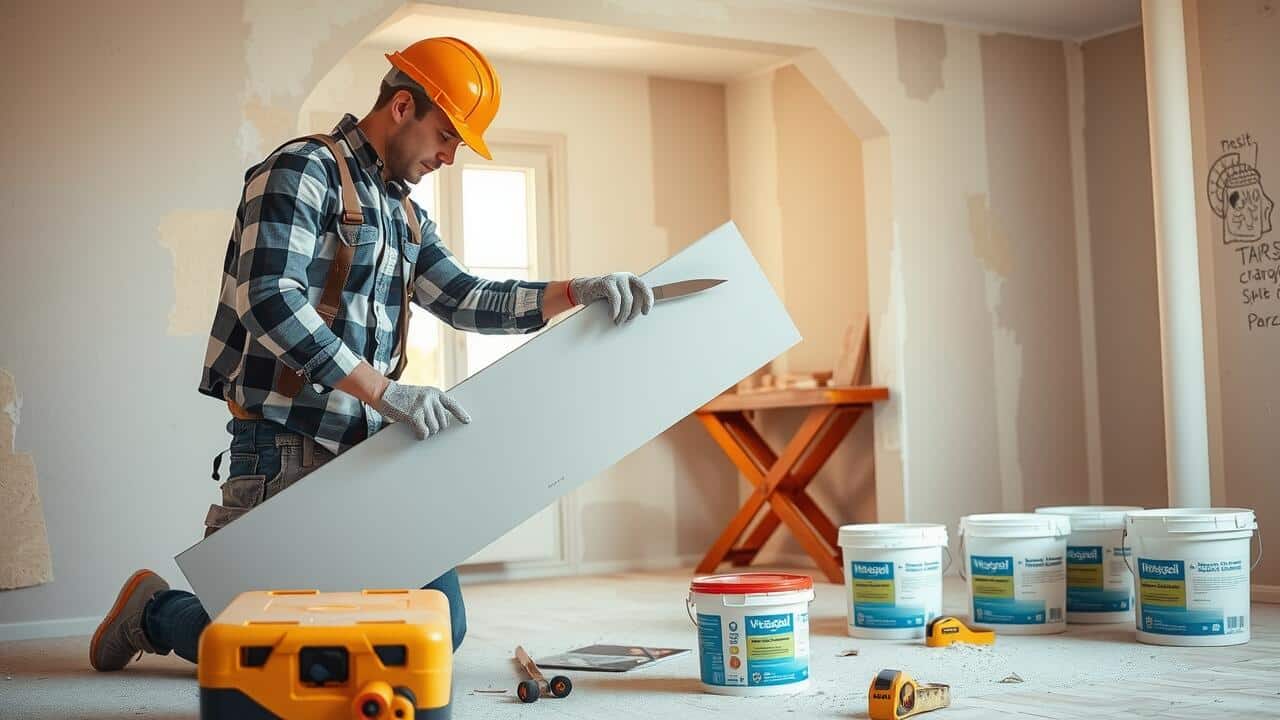
When installing new drywall, start by measuring the wall space to ensure accuracy. Cut the drywall sheets to fit the dimensions, maintaining a clean edge for a better finish. Position the sheets against the wall, securing them with drywall screws to the studs. Space the screws about 12 to 16 inches apart along the edges and in the center of the sheets to provide adequate support. Plan your layout carefully to minimize seams and waste during the installation.
After securing the drywall, inspect for any gaps or irregularities before moving forward. A straight and level surface is crucial for drywall replacement, as it affects both the appearance and the ease of taping and mudding later on. Use a utility knife to score and snap the drywall for any adjustments, ensuring that cuts are clean and precise. If you have electrical outlets or fixtures, cut openings carefully to accommodate them without compromising the integrity of the boards.
Techniques for a Seamless Finish
Achieving a seamless finish during drywall replacement requires careful attention to detail. Start by ensuring that the edges of the drywall sheets are aligned properly. Install the sheets snugly against each other, minimizing gaps that could become visible after finishing. Use drywall screws to secure the boards firmly, making sure they are slightly recessed without breaking the paper surface. This prepares the area for taping, which is crucial for an even appearance.
Once the boards are in place, apply joint tape to the seams. Consider using either paper or fiberglass tape for this purpose. Paper tape is typically easier to work with and creates a flatter finish, while fiberglass tape may offer more strength. After taping, apply a thin layer of joint compound over the seams, feathering the edges to blend seamlessly into the surrounding drywall. Multiple coats may be necessary to achieve the desired smoothness. Sand between layers for the best results, ensuring that the final surface is ready for priming and painting.
Taping and Mudding Drywall Joints
Taping and mudding drywall joints is an essential step in achieving a professional finish during your drywall replacement project. Start by applying a layer of joint compound over the seams where the drywall sheets meet. Use a putty knife to spread the compound evenly and cover the tape you will place over the seams. The tape helps to reinforce the joint and minimizes the risk of cracking. It is crucial to ensure that the tape is embedded well in the compound, avoiding air bubbles that can lead to imperfections.
Once the tape is applied, you can begin the mudding process. Apply a thin coat of joint compound over the tape, extending beyond the edges to create a smooth transition to the surrounding drywall. Let the compound dry completely, then sand it lightly to achieve a flat surface. Adding additional layers may be necessary, with each layer requiring sanding to ensure a seamless finish. Thoroughness in this stage of drywall replacement will significantly impact the overall appearance of your walls.
Achieving a Smooth Surface
Achieving a smooth surface is essential in the process of drywall replacement. After applying joint compound, also known as mud, it’s important to let each layer dry completely before applying another. Start with a thin layer, then use a drywall knife to extend the compound slightly beyond the edges of the joint, feathering it out to minimize any visible lines. This technique helps create a seamless transition between the joints and the surrounding drywall, ensuring a professional appearance.
Once the compound is dry, sanding is the next crucial step. Use a fine-grit sandpaper attached to a sanding block or pole sander for best results. Lightly sand the dried mud to eliminate any imperfections. It’s also advisable to wear a mask to avoid inhaling dust during this process. After sanding, inspect the area for any remaining flaws, and if needed, apply a second or even third coat of compound, repeating the sanding process until the surface feels smooth and even to the touch.
FAQS
Can I replace drywall myself?
Yes, many homeowners can replace drywall themselves if they have basic DIY skills and the right tools. However, it’s important to understand the process and take safety precautions.
What tools do I need to replace drywall?
You will need a few essential tools, including a drywall saw, utility knife, drywall screws, a drill, a tape measure, and a straight edge. Additionally, a mud pan, drywall knife, and sanding sponge will help with taping and finishing.
How do I ensure a seamless finish when installing new drywall?
To achieve a seamless finish, make sure to properly align the drywall sheets, use joint tape and compound effectively, and sand the joints smoothly after drying. Applying multiple thin coats of mud rather than one thick coat can also help.
What safety precautions should I take when removing old drywall?
Always wear protective gear such as gloves, goggles, and a dust mask to protect yourself from dust and debris. Ensure that the area is well-ventilated and be cautious of any electrical wiring or plumbing behind the drywall.
Is it necessary to hire a professional to replace drywall?
While many people successfully replace drywall themselves, hiring a professional may be beneficial if you are inexperienced or if the project is particularly large or complicated.